
Materials and execution
The floor is a sequence of junctions.
A well-composed tile floor begins before the first tile is installed. Its level, layout and junctions affect doors, cabinetry and adjoining materials. In a whole-home renovation, those relationships deserve the same attention as the tile selection.
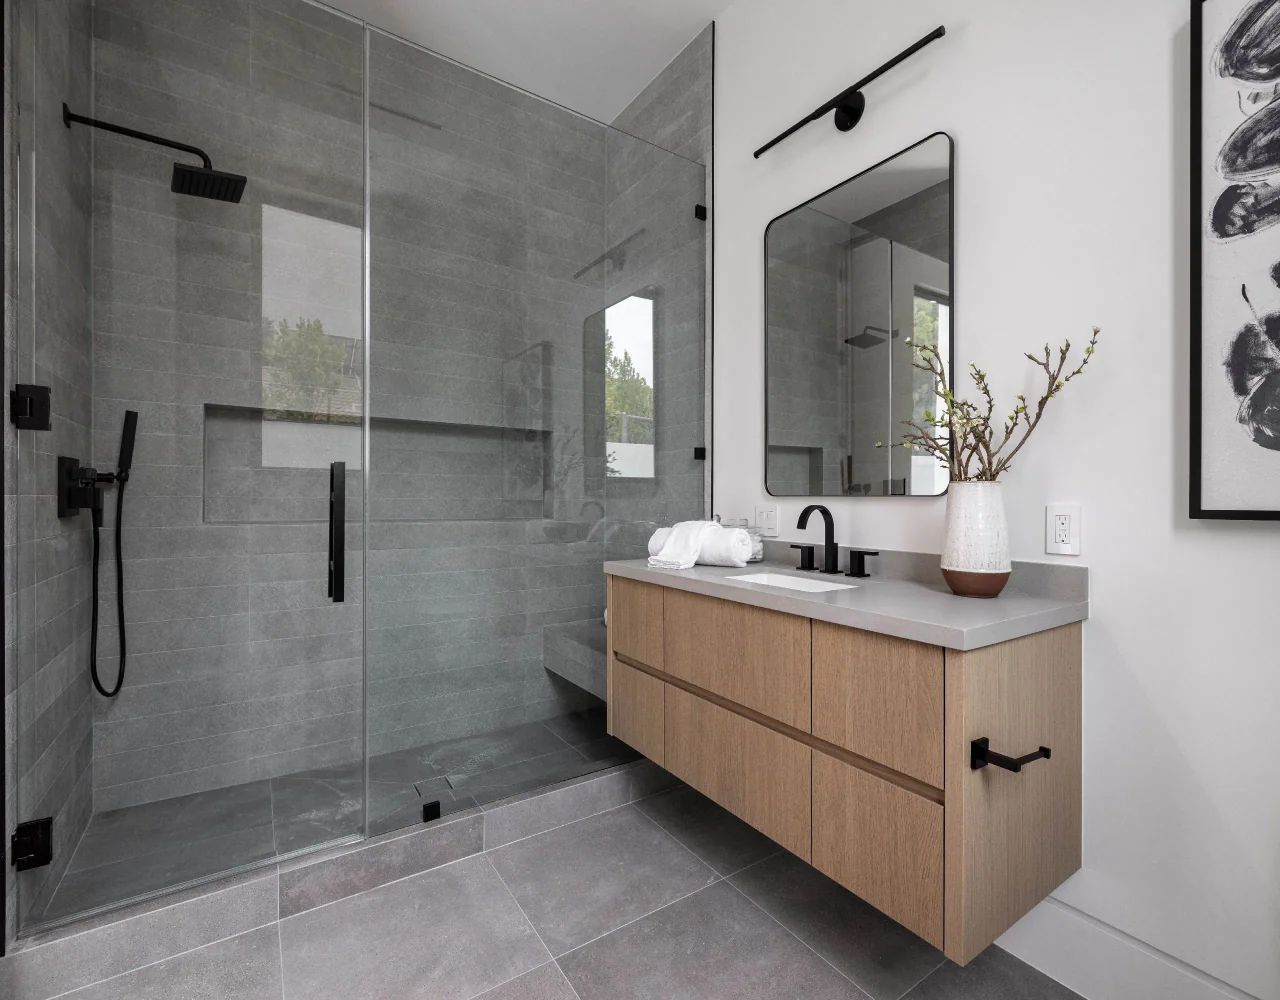
Establish the floor assembly.
Ask the design and installation team to confirm the substrate, preparation and specified assembly. Existing levels, movement and moisture conditions may affect what can be installed. A selected tile does not establish that the base is ready.
Use the instructions and technical requirements for the actual system. Avoid mixing components or adapting a detail by appearance alone; compatibility and installation conditions should be resolved before work is covered.
Choose a layout datum deliberately.
Review the pattern against doorways, major sightlines, cabinetry and room transitions. Decide where full pieces matter and where cuts can be accommodated. The middle of the room is not automatically the best place to begin the visual composition.
The interior designer can establish the intended pattern while the installer checks it against measured conditions. Approve a layout drawing or appropriate setting-out review before the sequence becomes difficult to change.
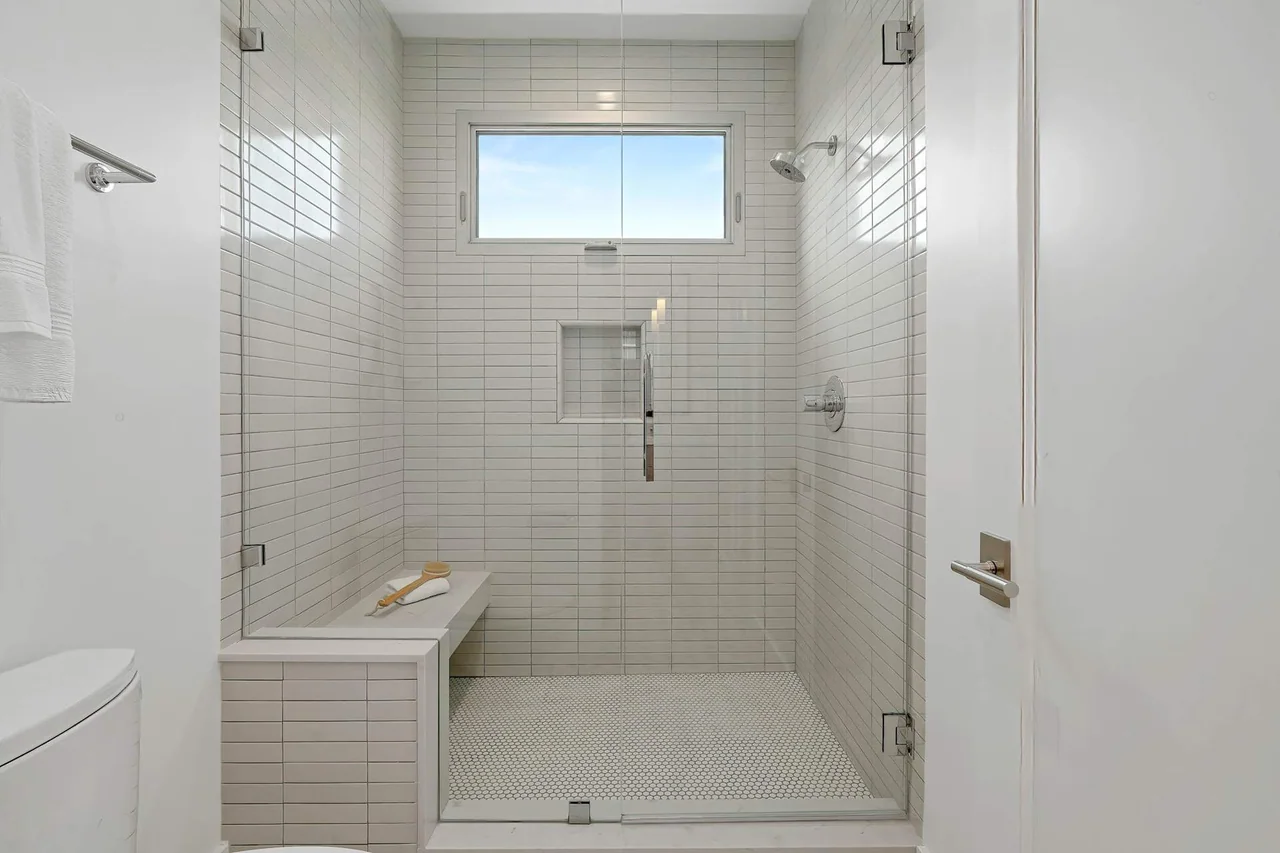
Resolve thresholds and movement.
Show the meeting of tile with timber, stone, stairs and external openings. Confirm finished levels and edge treatments early enough for adjacent construction to respond. A slim-looking junction may still require a carefully specified assembly below it.
Movement joints serve a technical purpose and should be coordinated with the layout. Follow the applicable design and system guidance rather than eliminating joints solely to make a photograph look continuous.
Treat wet areas as complete details.
Where waterproofing is required, coordinate the specified membrane, seams, penetrations and connections to drains and adjoining surfaces. The tile finish should not be mistaken for the whole water-management assembly.
Check falls and transitions alongside the proposed tile format. Ask how the detail will be reviewed before it is concealed, and record the relevant checks as part of the project’s quality process.
Review the finish and protect it.
Use the actual tile, grout and edge samples to agree color and joint appearance. Natural variation, pattern orientation and lighting should be understood before a large area is committed. Confirm the approved reference with the installation team.
Plan protection during subsequent work and follow the specified products’ care and curing guidance. At handover, record material and maintenance information; do not promise an invisible future repair or an unlimited service life.
Questions for the first meeting
- Floor build-up and measured levels
- Layout datum and significant cuts
- Thresholds, edges and movement joints
- Wet-area connections and review points
- Samples, protection and care information
Further information
Review the references below with your project team. Confirm local requirements with the responsible authority and product-specific requirements with the manufacturer.
Planning a custom home or major renovation with an architect or interior designer?
Introduce your project